How to Tie Dye
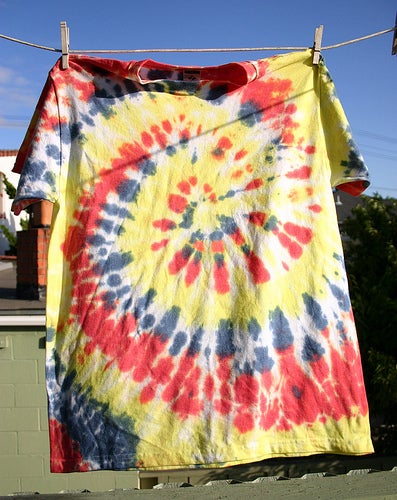
This instructable will teach you how to get Tie Dye and what you will need to do so. It takes a little time but in the enc you'll be happy with the results you get from using this method! The photo above shows a finish product of a tie dye shirt if you were to go about the following steps.
Step 1: Gather Your Supplies
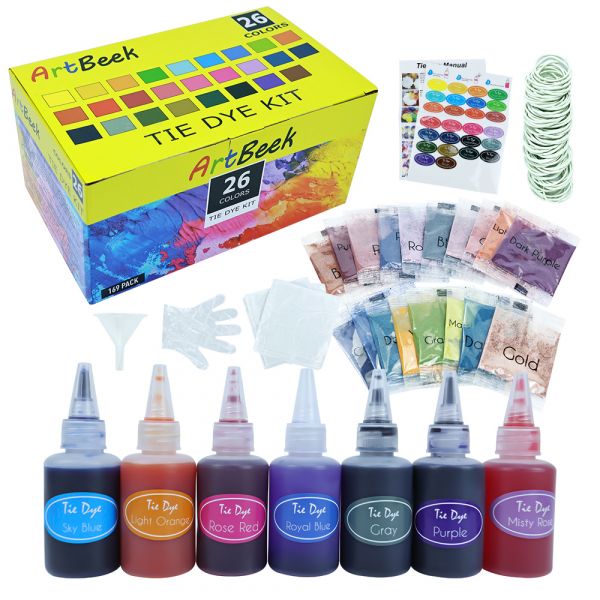
First off, you’ll need to gather your supplies. You can buy individual dyes, rubber bands, and gloves or you can buy a kit and have all that work done for you. I’m lazy, so I opted for the kit. I got this one at ArtBeek. You can also buy them online at ArtBeek in lots of color combinations. I’m going to show you how to use this kit in this tutorial, so if you opt for a different set of materials, follow the instructions for those dyes.
This kit said that it dyed “up to 8 shirts” but I only had enough dye for six shirts — one adult sized and 5 kid sized. I had to really stretch to get that 6th shirt dyed too, so I probably shouldn’t really count it in the total.
In addition to the supplies in the kit (pictured above), you will also need garbage bags to cover your work surface and ziplock bags to store your shirts in while the dye sets up. You will also need something to dye, of course.
Step 2: Fold Your Shirt
I’m going to start off showing you how to do a spiral pattern because that’s the most dramatic and fun pattern to make.
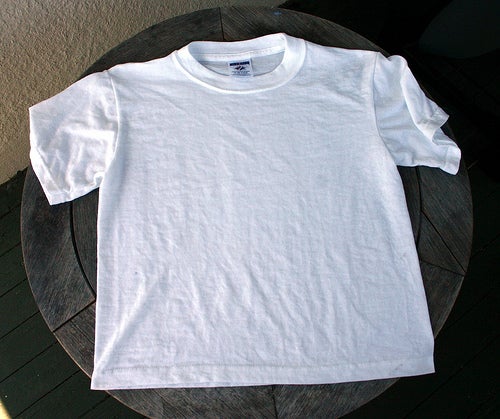
- First, lay your shirt out flat. Your shirt should be washed to remove any sizing if it’s brand new. It should also be a little damp when you fold it and add the dyes.
Step 3: Fold Your Shirt (Continued)
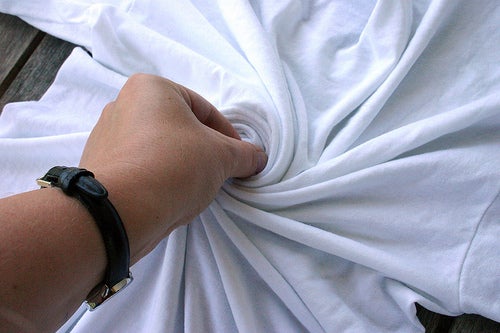
Next, pinch the shirt somewhere in the middle and start twisting the fabric around. Keep twisting until the whole shirt has been twisted into a disk. As you go, make little adjustments here and there so you have lots of folds and pleats in the fabric. This exposes more fabric to the dyes and will make for a more interesting pattern.
Step 4: Fold Your Shirt (Continued)
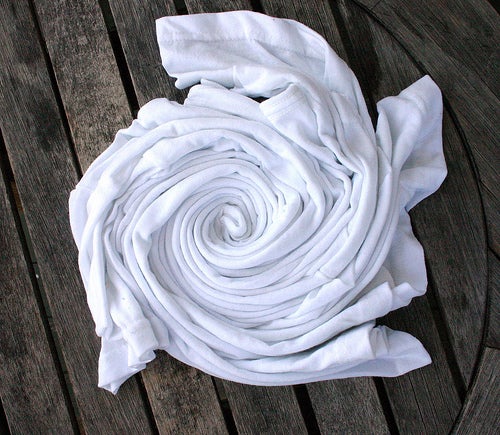
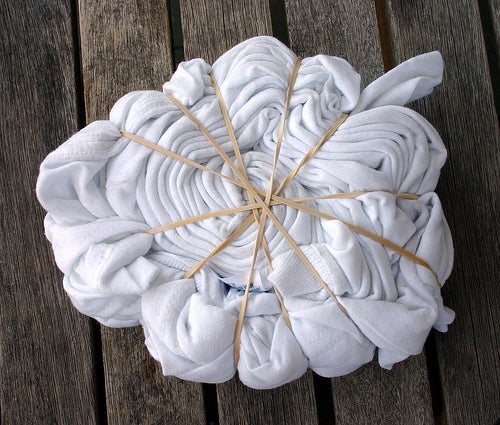
You should end up with a flat, twisty disc, like the one above. It should look kind of like a hurricane.
Step 5: Fold Your Shirt (Final Step)
Next, carefully wrap rubber bands around the shirt. Put the rubber bands on so they intersect over the center of the disc (or the “eye of the hurricane”). You should use at least three bands, which will divide the disc up into 6 segments. I used six bands on this one because this was an adult sized shirt and it felt a little floppy with only three.
If you’re doing other shirts, you should fold and tie those up now too.
Step 6: Dye Your Shirt
Prepare you work surface by putting garbage bags down. You can do this inside, but it’s messy enough that if you’re doing this with kids, you should just plan on doing it outside. Don’t work right on the ground though because your shirt will get dirty and mess up all your hard work.
Once your workspace is ready, put on your gloves and prep your dyes. The dyes in my kit were already in squirt bottles and all I had to do was add water and shake them. I found that it worked best to fill them about half way, shake until the dye powder was dissolved and then add the rest of the water and shake a bit more. Next, start squirting the dyes on the shirt. This is the fun part!
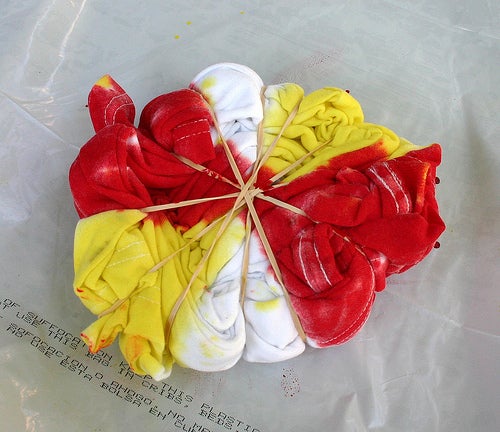
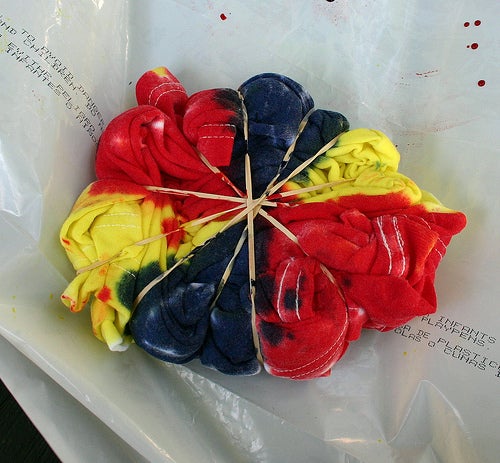
To make the the spiral pattern, you need to squirt the wedges between the rubber bands.You can see what I mean by looking at the pictures. Squirt both sides of the disc and open the folds of the shirt here and there to make sure the dye is getting to the fabric in the middle of the shirt too. If there’s no dye in the middle, squirt a little in.
Step 7: Dye Your Shirt (Final Step)
It’s OK if the dye crosses the lines a little and mixes — that will make your shirt more interesting. Keep in mind that if you mix some colors together — say orange and green — they will result in a muddy brown color. You’ll have better luck mixing analogous colors (ones that are next to each other in the rainbow). Since I used primary colors for the dyes I didn’t have to worry about that.
Step 8: Let the Dye Sit
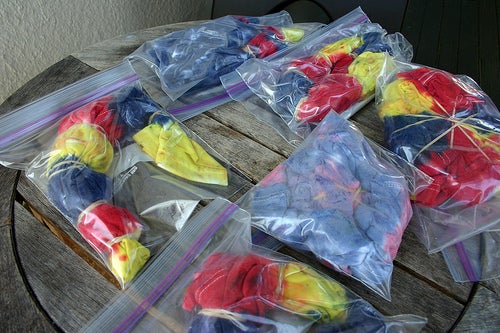
Once your shirts are all dyed, put them in plastic bags to let the dyes set. You want them to remain damp, so sealing them in ziplock bags works well. The kit I had said to leave them 6-8 hours, but I left them overnight and found that that made the colors much brighter.
Step 9: Rinse & Untie
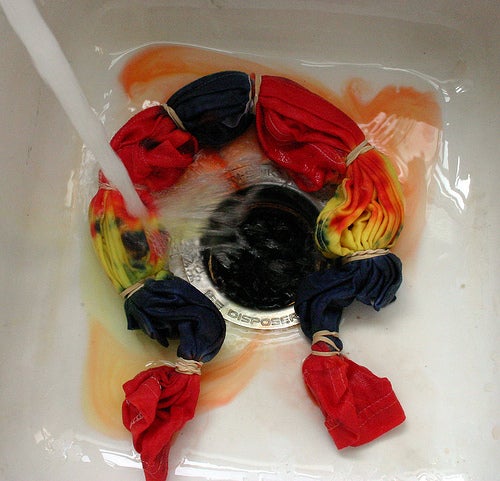
After the dyes have set up over night (or for 6-8 hours), rinse the shirt until the water runs clear.
Step 10: Fin
Then, it’s time for the big reveal! Pull the rubber bands off your shirt and shake it out to see your design.
Now, wash it in the washing machine. I highly recommend that you avoid putting your classic white button down shirt in with it. You might even go so far as to only wash your tie-dye shirt with other tie-dye shirts on this first round. After that, use your best judgment and enjoy looking like a hippie!

Items 37 to 42 of 729 total