How to Draw Realistic Eye in 10 MINUTES - EASY Tutorial for BEGINNERS
Your eyes are the door to your soul. They reflect your emotions and your inner being. A lot can be drawn from the look in your eyes. So it's no surprise that the eye has been an inspiration for poets, writers, and artists since ancient times.

Without a doubt, being able to create expressive eyes is a must for any figurative artist. Whether you're a realist or working in a more illustrative style, being able to draw and color the eyes in a way that brings life to your characters takes your work to a whole new level.
So, in this tutorial, I'll walk you through the process of creating realistic eyes.
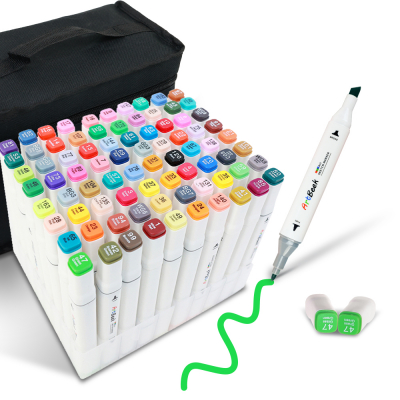
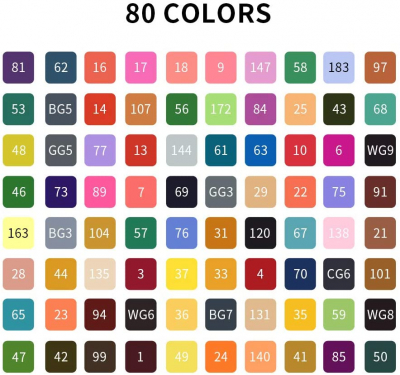
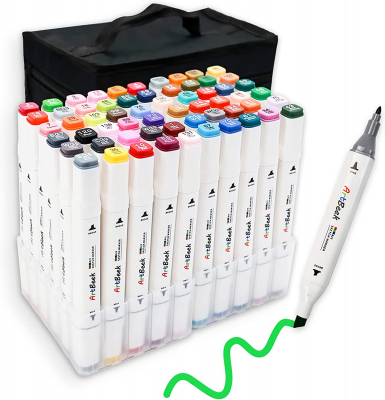
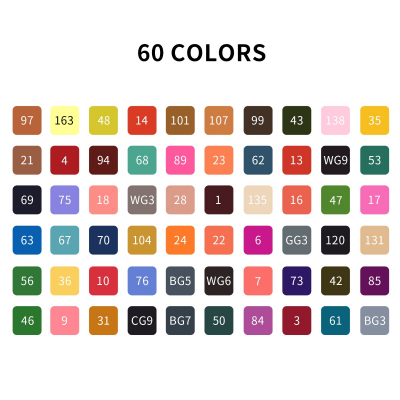
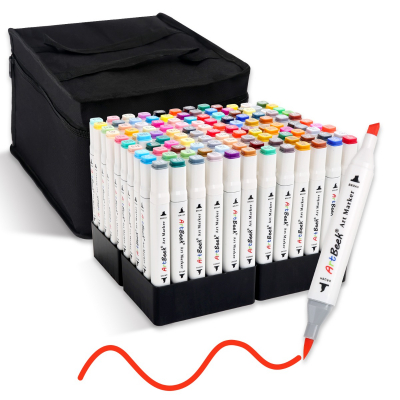
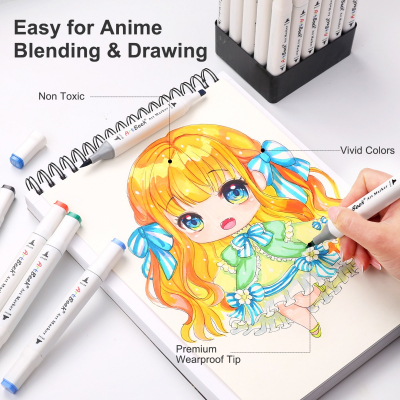
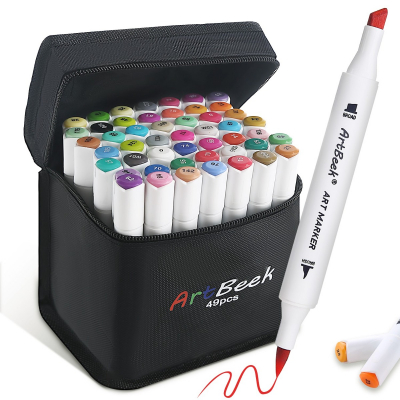
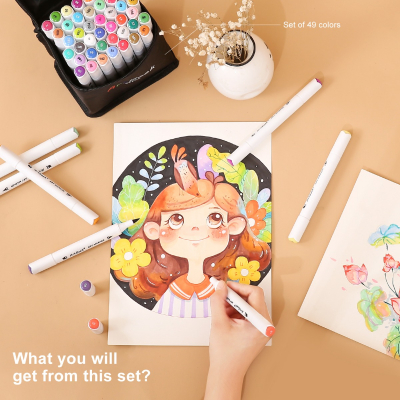
As always, my step-by-step coloring tutorials can be used with any alcohol marker or brand of colored pencils. I personally use ArtBeek alcohol markers.
List of Supplies:
- ArtBeek alcohol markers
- ArtBeek pencil set
- ArtBeek eraser
In this tutorial, I will use colored line drawings. Whenever I want to create a realistic image, I usually use colored lines. Black lines are artificial and difficult to overcome when creating realistic compositions.
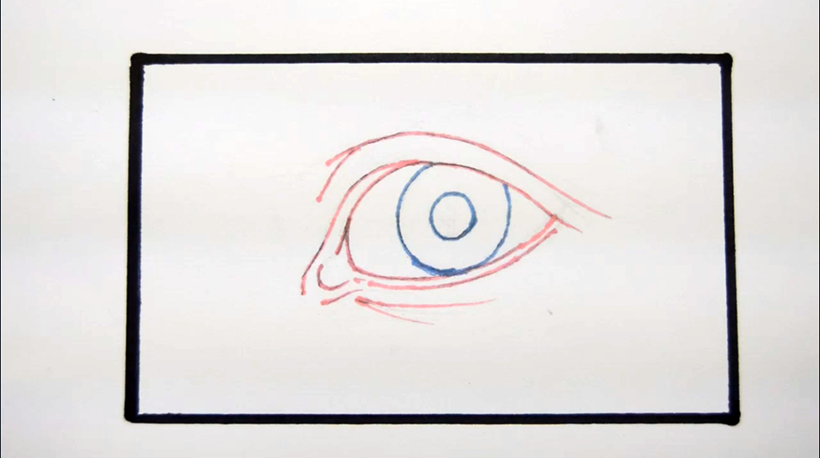
I start by coloring in the pupil of the eye. Colored pencil users should use medium pressure here, as we'll be layering two more colors on top of it to create a rich, velvety "black".
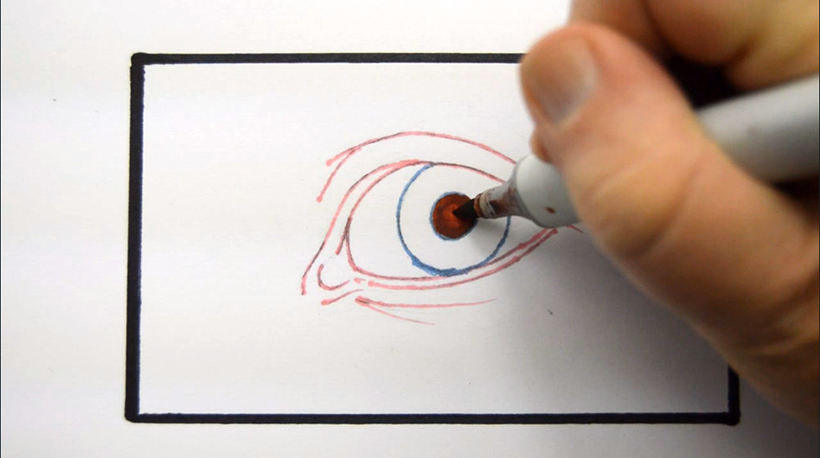
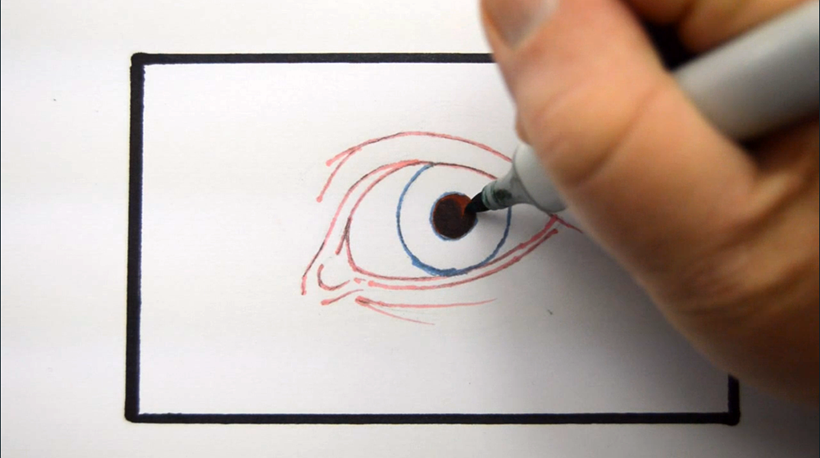
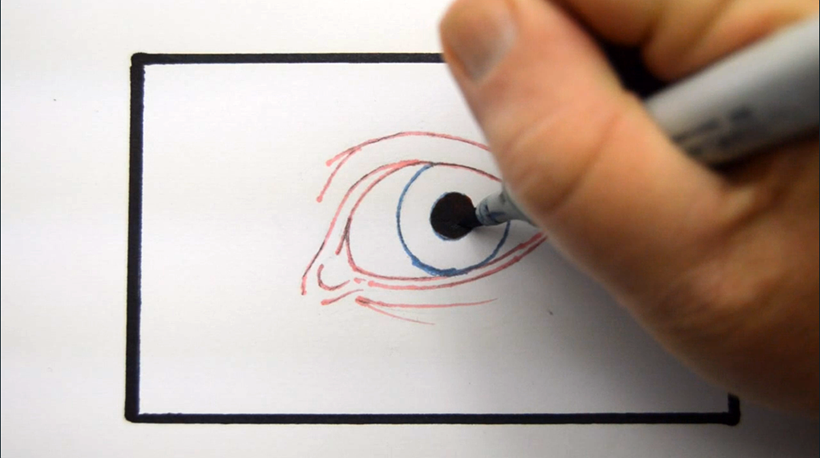
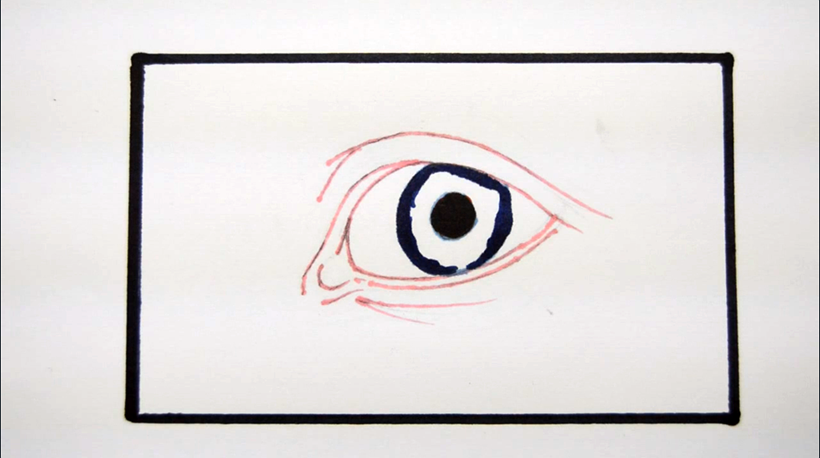
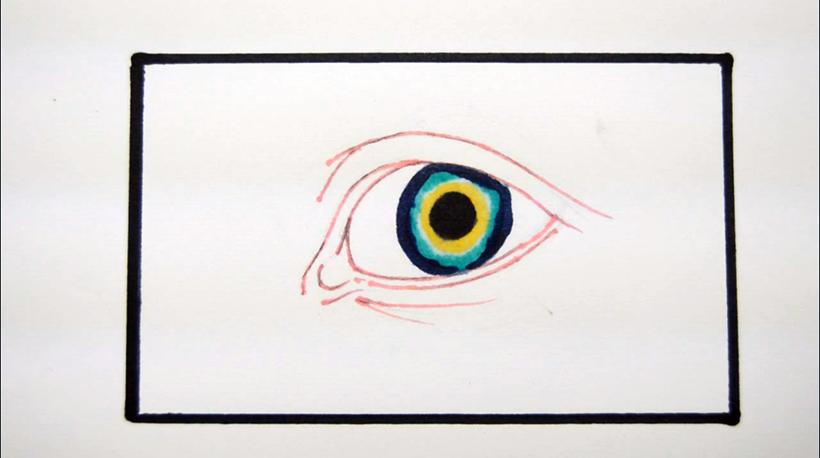
I "desaturate" or "grey" the colors in the iris. Colored pencil users should use medium-weight pressure here to blend and blend the color while still maintaining enough teeth to add a few layers.
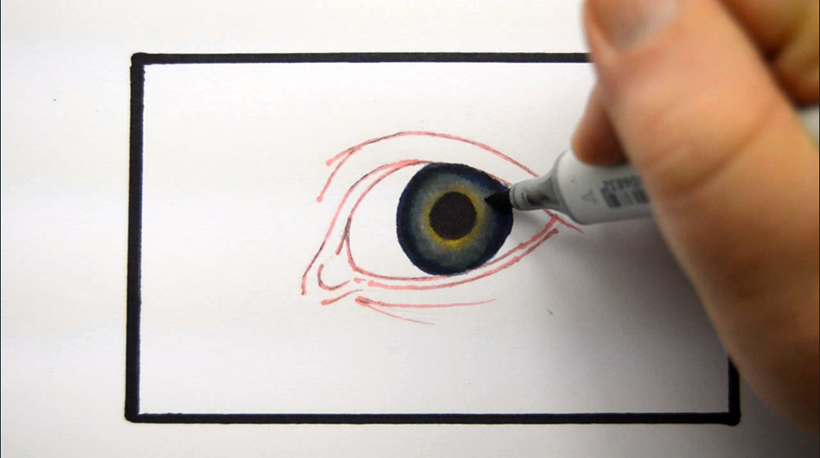
I add muscle striations to the iris.
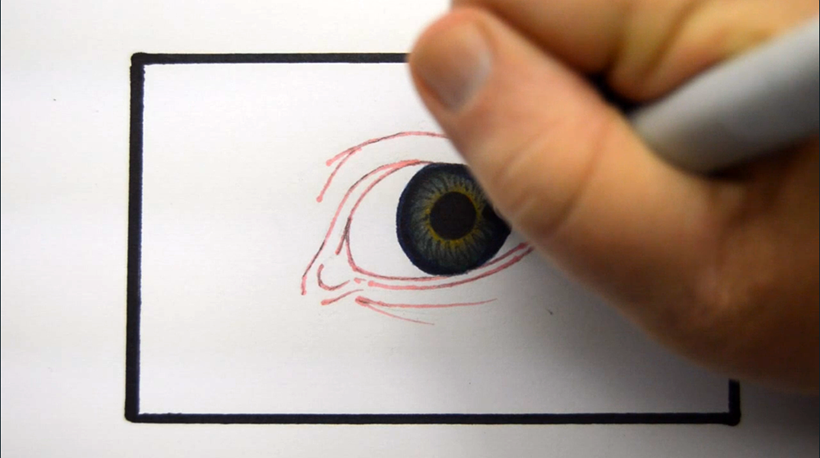
I paint the outer edges of the eyeballs, the upper and lower lips of the eyelids, and the tear ducts and wrinkles under the eyes.
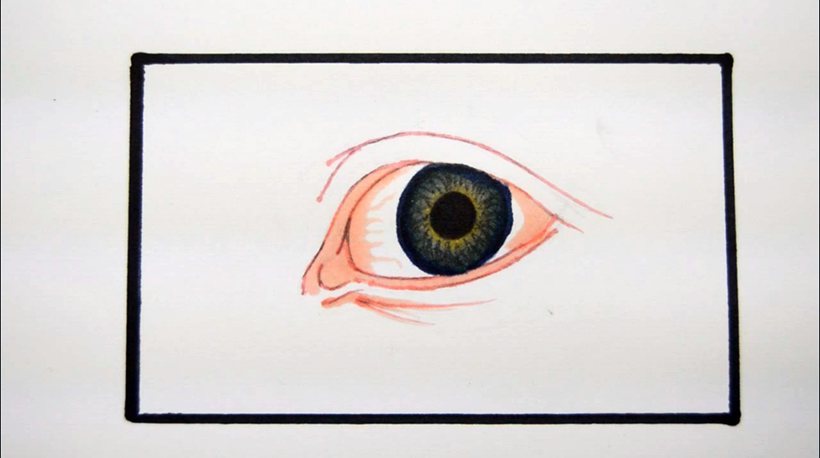
I added a very light primer to the "white" of the eyeballs and the skin above and below the eyes. Color pencil users should only use this color on the eyeball, not the skin, to ensure that the skin area has enough teeth for the upcoming layers.
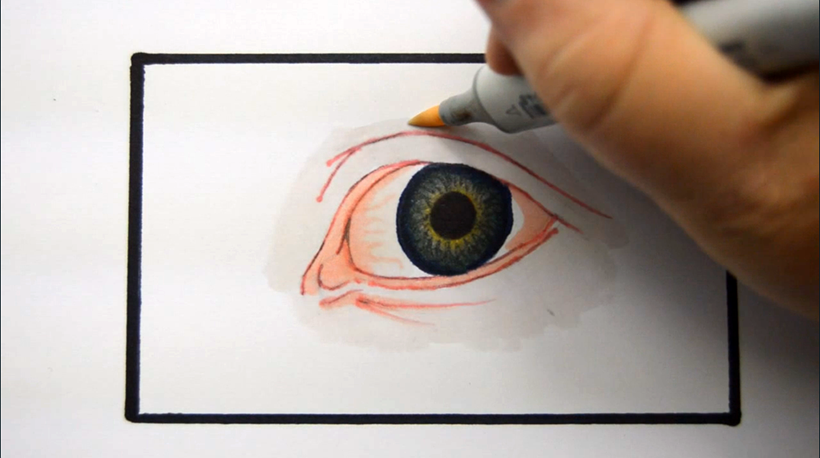
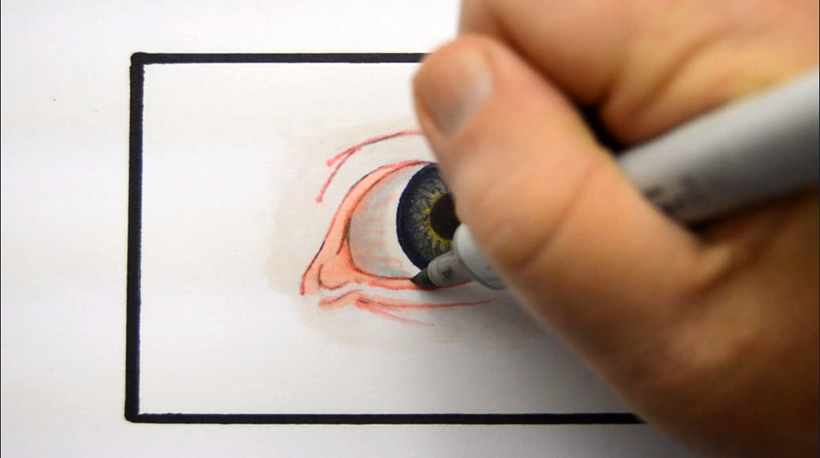
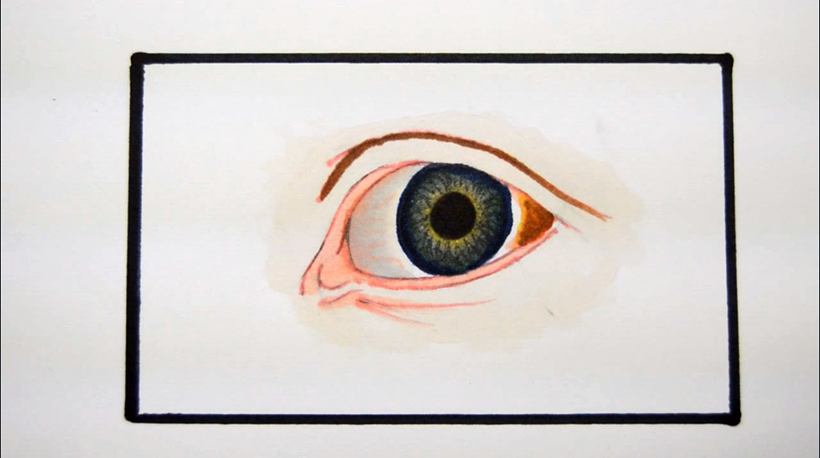
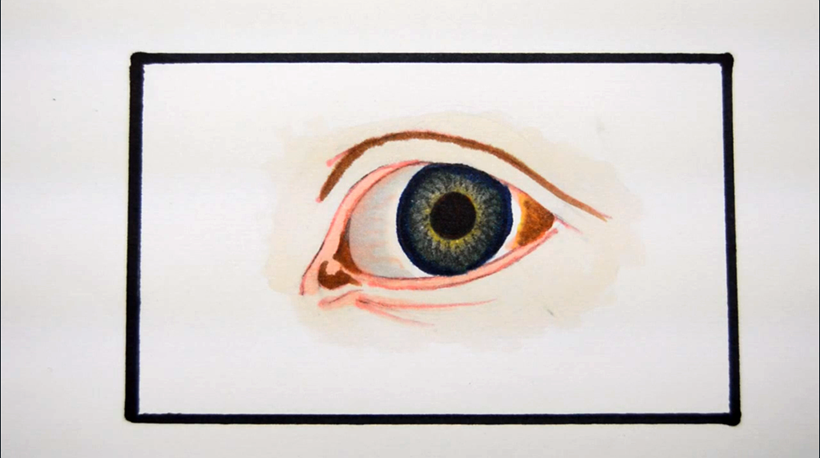
I desaturated the darker shadow on the outer corner of the eye, and I also added a touch of this color to the inner and outer edges of the shadow line of his lids.
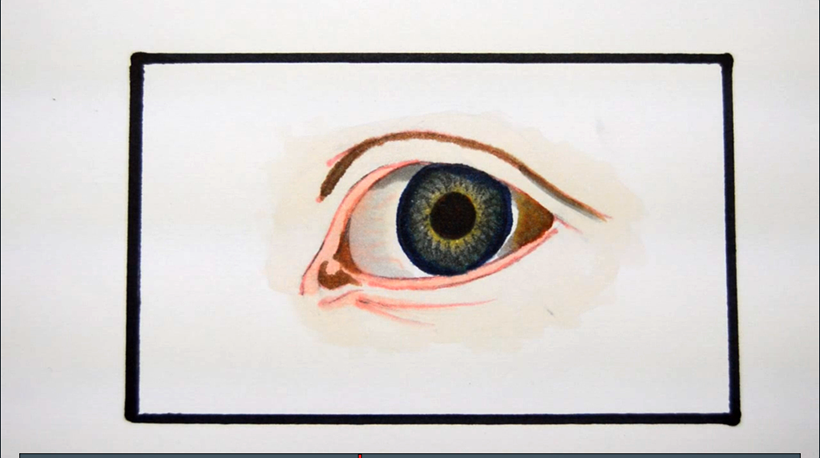
Now comes the fun part! I created a rough "cross hatch" texture to represent the skin texture. During this step, feel free to be rough or tight. Ultimately this seems to be the texture of the skin. Colored pencil users use a fair amount of pressure here, but keep it "open" with lots of space between marks. We want this texture to show up with the color we'll put on top of it!
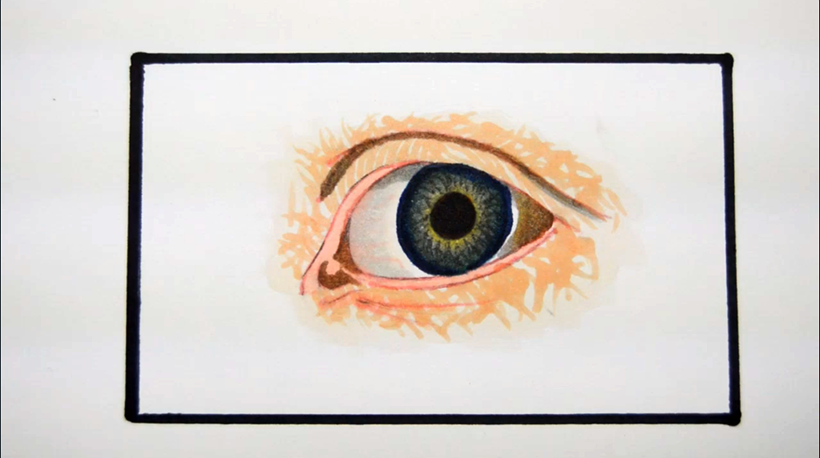
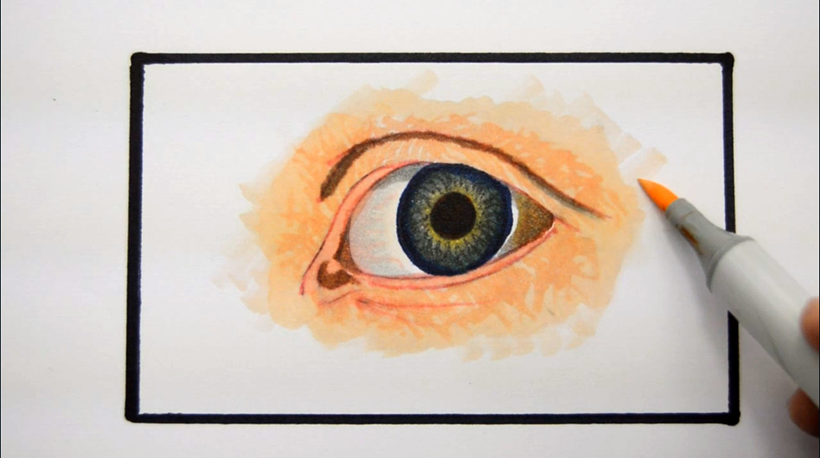
I added a cool color to the area of the eyelid that I wanted to look receded. Most teachers will use a darker "brown" here, but it's really not a good choice. Creating shapes and roundness with warmth and coolness is a more efficient and realistic approach!
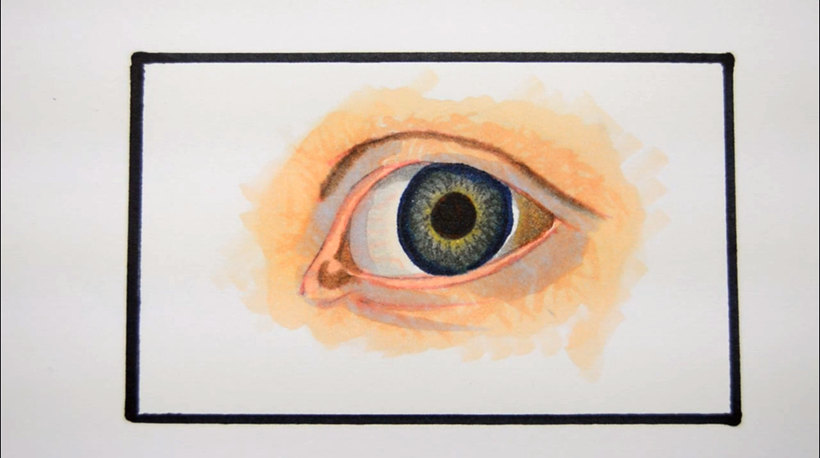
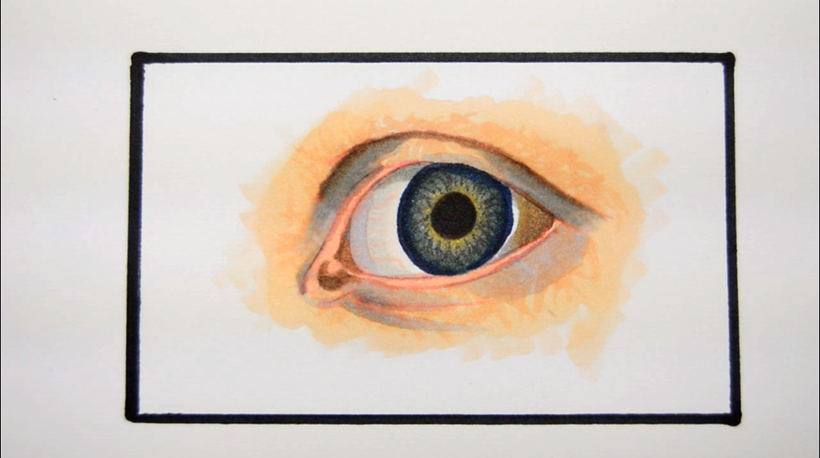
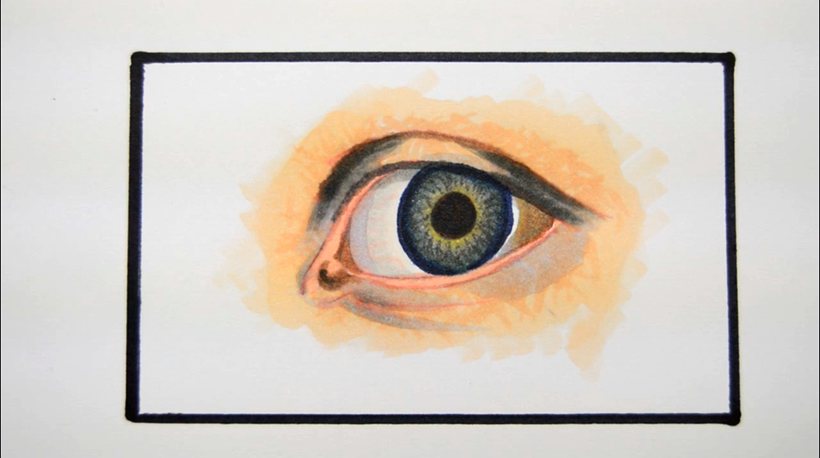
Then I add more cooling. You can see this color on the sides above the upper eyelids, in the "holes" near the tear ducts, and on the inner and outer corners of the lower eyelids.
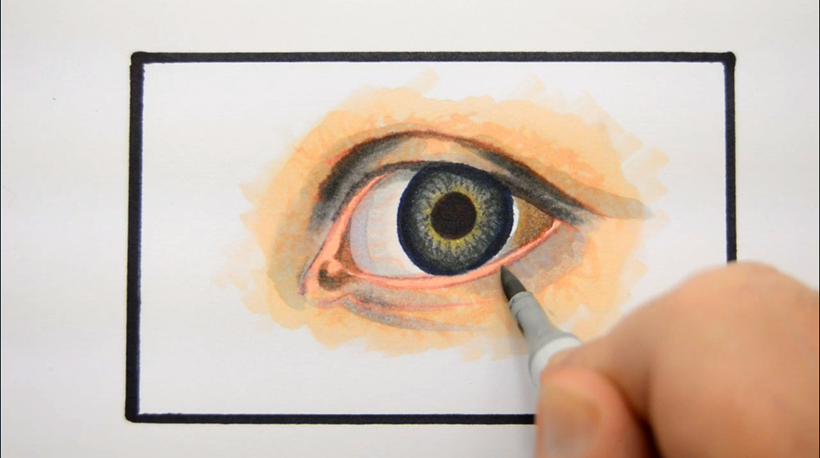
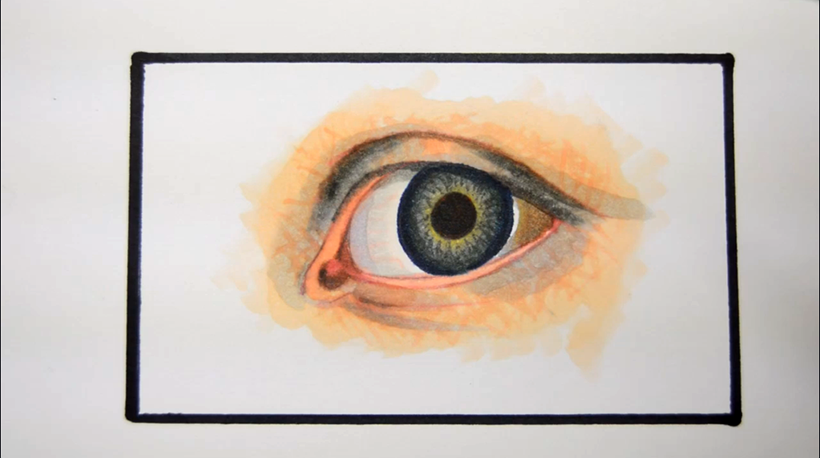
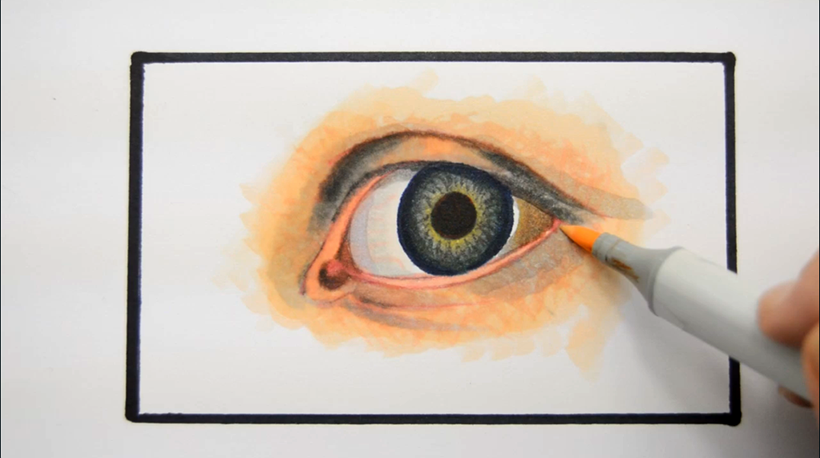
I darkened and "pulled in" the lash line on the upper lid, thick at the top and sparse at the bottom. This part can be a little intimidating, so be sure to watch the video to see how it's done. I added extra lashes.
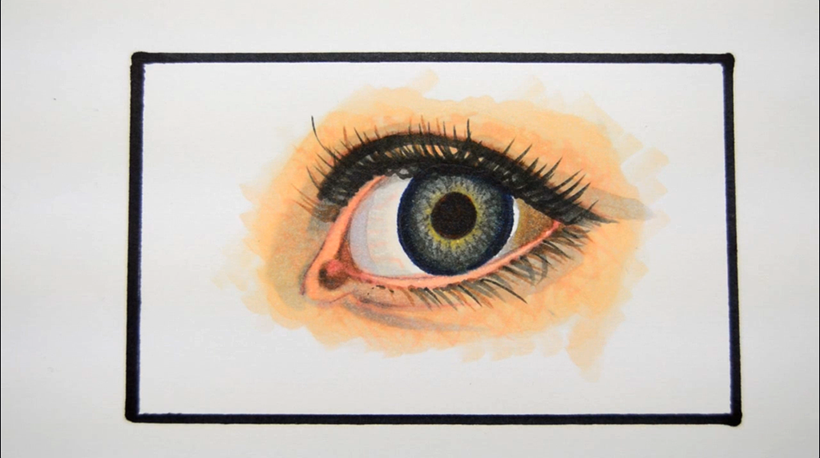
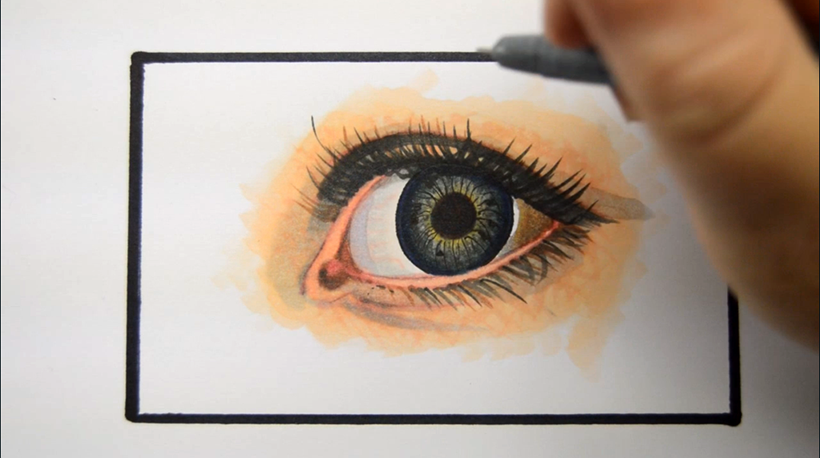
I lift, brighten and "erase" some of the brighter areas in the iris. Colored pencil users can use strong alcohol or, more preferably, use an inexpensive small brush to apply unscented mineral spirits to the same effect.
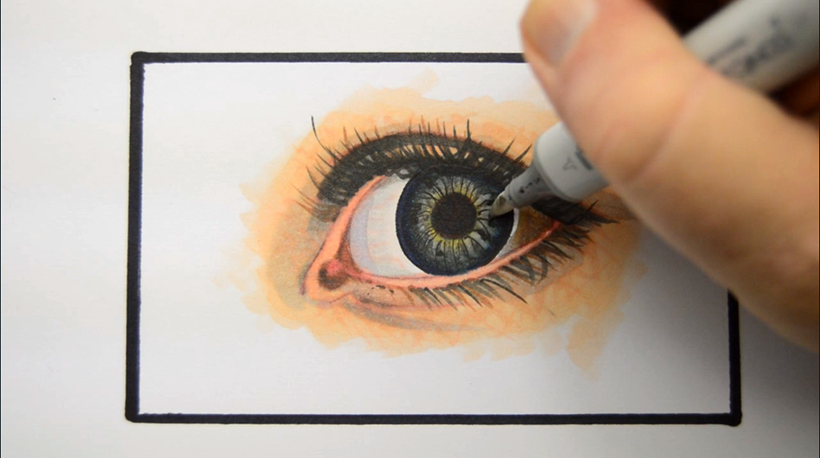
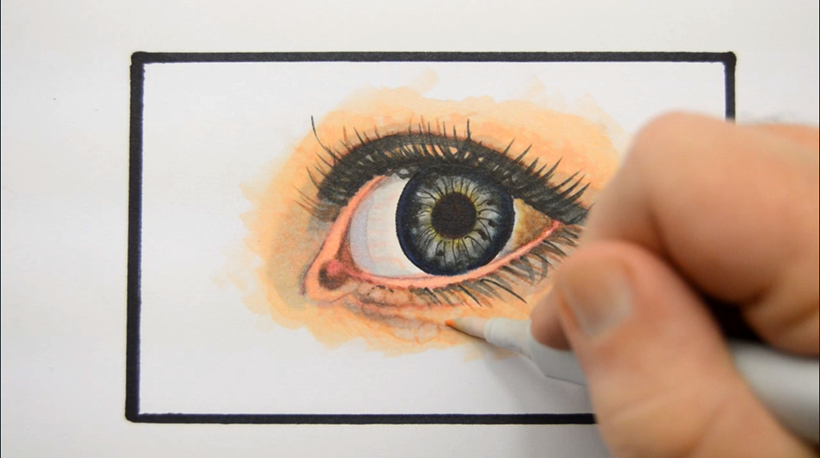
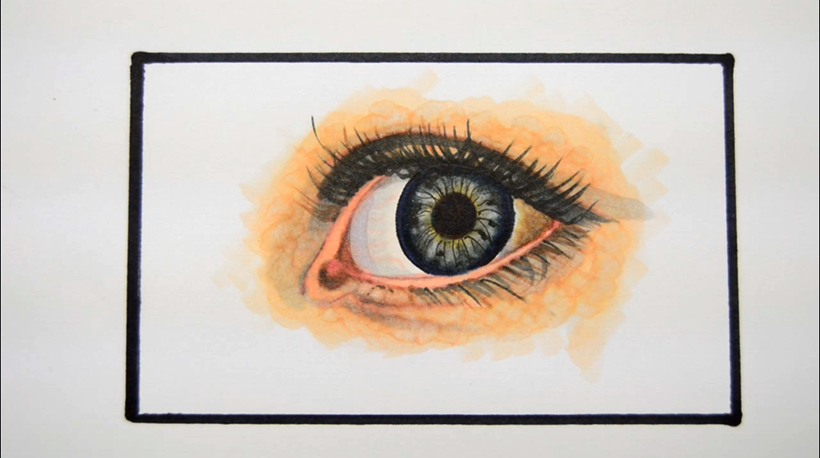
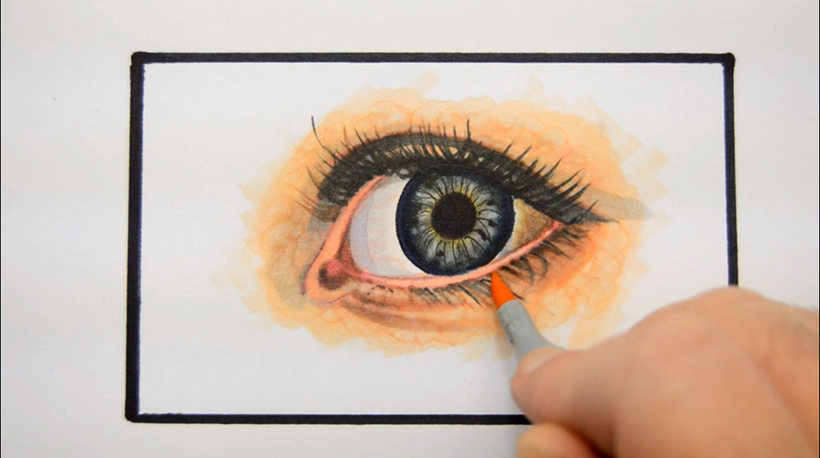
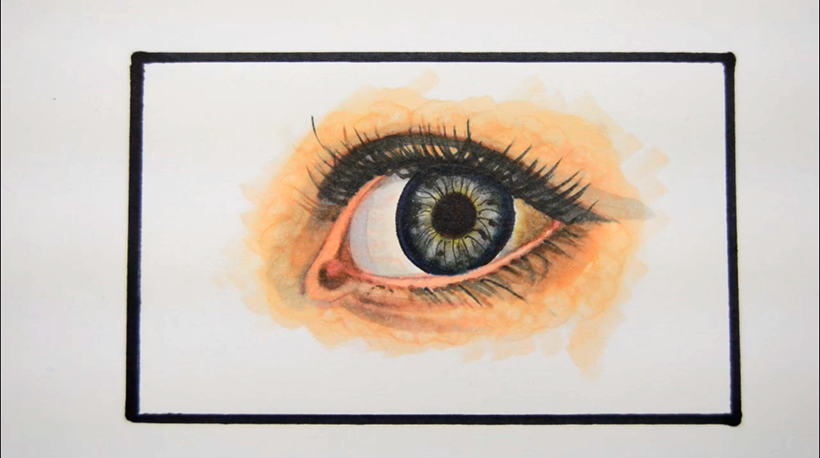
For my highlights, I'll use M. Graham & Co. Titanium White Artist's Gouache. This white is perfect for markers and pencils, and if you get it wrong, it can be completely removed with a water cotton swab! I added white highlights to the iris and eyeball.
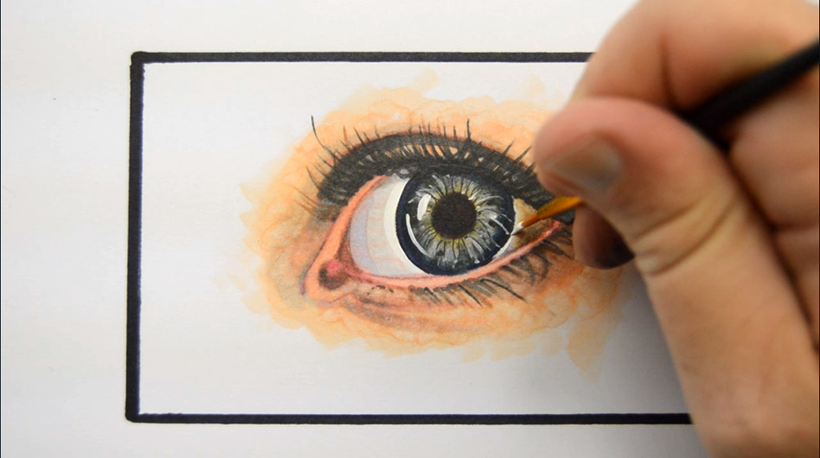
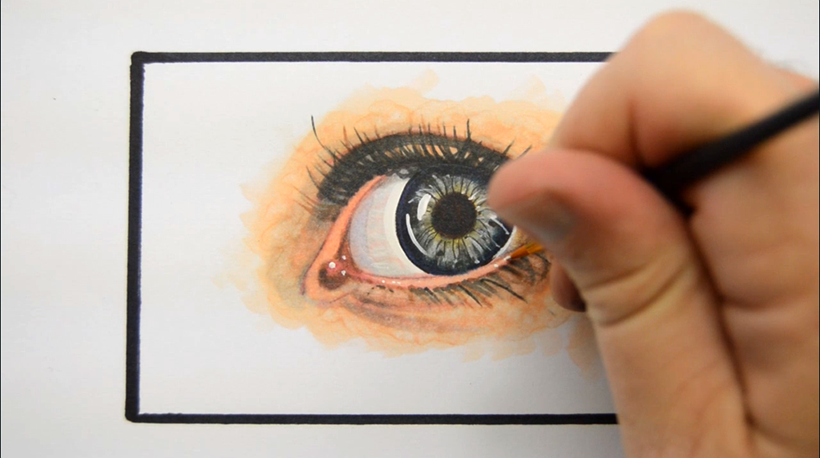
To finish off the skin texture I add tiny white highlights to the bottom area of the skin.
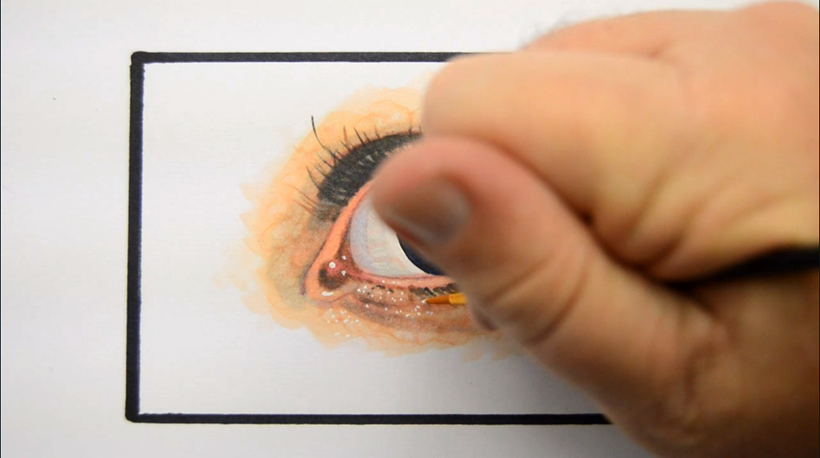
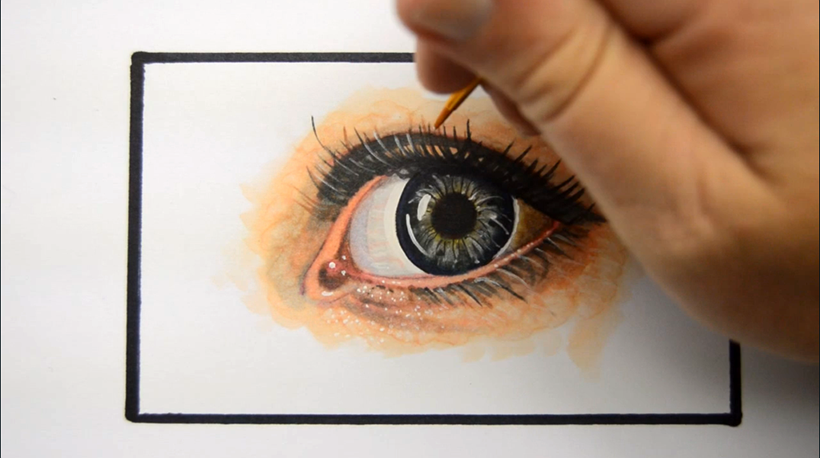
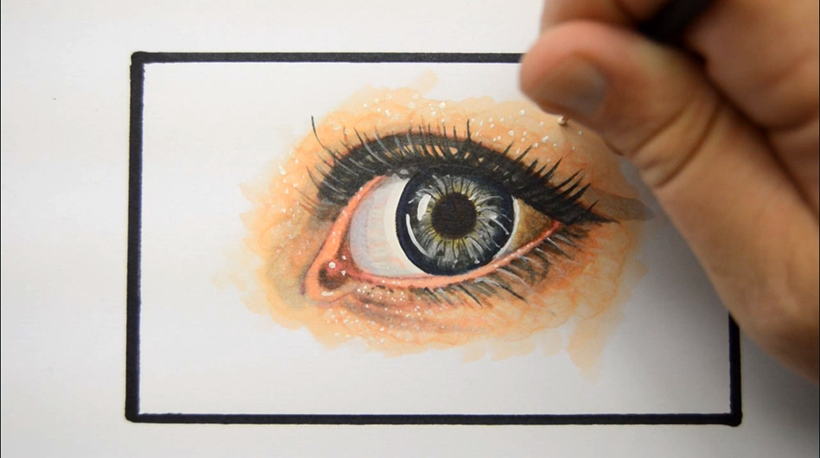
...getting the job done.
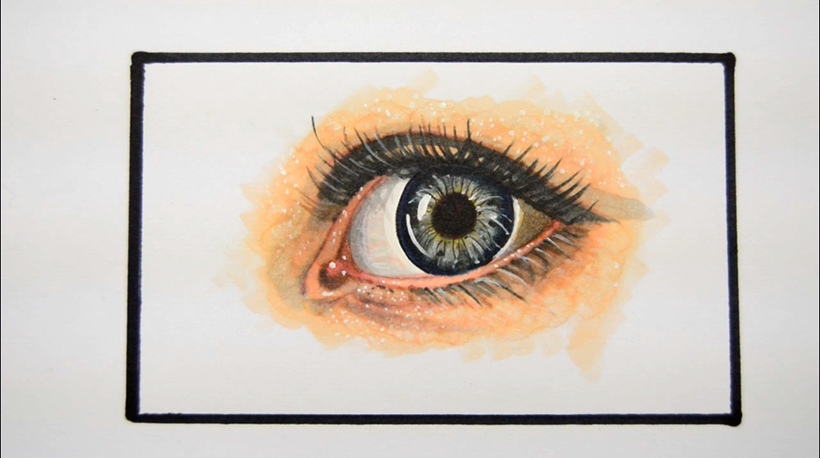
In this tutorial, I touched on a number of important "core" artistic concepts such as warm and cool colors, saturation and desaturation, and glaze layers. As always, I can't wait to see what you do, so be sure to post what you've done with this tutorial in the comments section below.
Draw your wonderful!

1 Item